The First Birdwatching Outing Checklist: Binoculars, Apps, and Field Notes
The first birdwatching outing has a way of humbling you. You step onto a trail, hear a call you cannot place, and suddenly every shrub looks like it is hiding something. The less good part is realizing you left your water bottle in the car, your binocular strap is digging into your neck, and you have no idea whether that flash of yellow was a warbler or a goldfinch. A little preparation turns that scramble into a morning you can enjoy and repeat.
Start With Binoculars You Will Actually Carry
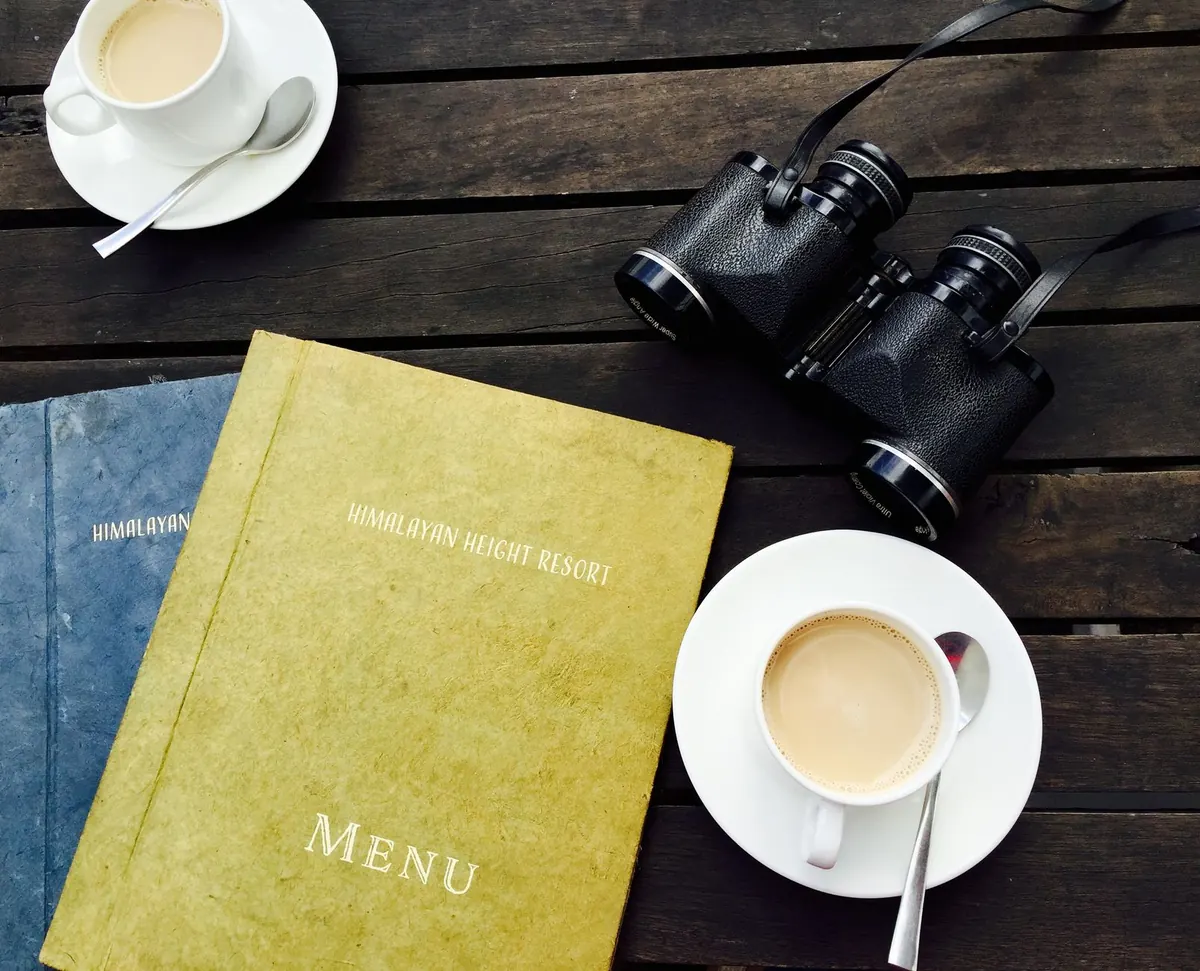
Binoculars are the one piece of gear worth thinking about before your first trip. You do not need the most expensive pair. You need a pair that feels comfortable in your hands, focuses smoothly, and does not make your arms tired after ten minutes. For general birding, 8x42 is a common and forgiving choice: the magnification is manageable, and the larger front lens gathers enough light for shady woods and cloudy mornings.
If you wear glasses, check the eye relief. If you plan to walk far, check the weight. A neck strap that is wide and padded makes a surprising difference. Before you leave the house, practice focusing on a branch across the yard, then on a leaf a few feet closer, then back out again. That back-and-forth motion is what you will do constantly in the field, and a little practice keeps you from missing a bird while you fiddle with the focus wheel.
Build a Small Identification Kit
You do not need a library. You need a few tools that answer the question "What am I looking at?" without pulling your attention away from the bird for too long.
Apps as a Second Opinion
Merlin Bird ID, eBird, iNaturalist, and regional field-guide apps are useful companions. Merlin can suggest an identification from a photo or a sound recording. eBird helps you log what you saw and where. Use them as hints, not as final judges. A photo taken through binoculars or a phone held to a spotting scope can be blurry, and a sound ID can pick up a similar species. If the app says one thing and your eyes say another, write down what you saw and check later. That habit builds real identification skill.
Your Field Notebook
A small notebook and a pencil beat a phone in the rain and never run out of battery. Write the date, time, location, and weather at the top of the page. Then note the birds you can identify and the ones you cannot. For the unknowns, describe what you saw: "sparrow-sized, streaked breast, white throat, pumping tail." A rough sketch, even a bad one, forces you to look closely. Later, those notes become a record of your local patch and a way to see how your eye improves.
The Printable Checklist
Print this list or copy it into a notes app, then adjust it for your climate and terrain. The goal is to leave the house with everything you need and nothing that weighs you down.
- Optics: binoculars, lens cloth, small brush, padded neck strap or harness.
- Identification: field guide or app, notebook, pencil, phone (charged), portable battery.
- Comfort: water, snack, hat, sunscreen, insect repellent, layers for changing weather, broken-in shoes.
- Safety: map or offline trail map, whistle, basic first-aid kit, any personal medication you need.
- Ethics: a plan to keep distance, stay on trails, and avoid playback near nests.
- Optional: spotting scope, camera, folding stool, thermos, rain cover for your pack.
Ethical Watching Habits to Practice From Day One
Birdwatching is a quiet contract with the birds and the places they live. The best birders are not the ones with the longest lists; they are the ones who leave a habitat no worse than they found it. These habits are simple, and they become automatic with practice.
- Keep a respectful distance. Use binoculars or a zoom lens to get closer, not your feet. If a bird stops feeding, crouches, or flies away, you are too close.
- Stay on trails and respect private property. A shortcut through a meadow can crush nests and damage fragile plants.
- Skip playback, especially during nesting season. Playing a territorial call can pull a bird away from feeding young or defending a nest.
- Do not feed birds to lure them into a photo. Handouts can change behavior, attract predators, and spread disease.
- Leave nests alone. If you find one, watch from a distance and move on. Never move branches or vegetation to get a clearer view.
- Pack out everything you bring in, including fruit peels and bits of line or wrappers.
Comfort, Weather, and the Small Stuff
Cold hands make it hard to focus binoculars. Wet feet end a trip early. Dress in layers you can remove as the morning warms, and choose muted colors rather than bright white or neon. A wide-brimmed hat shades your eyes and your binocular lenses. Insect repellent and a tick check after the walk are worth the minute they take, especially in tall grass or wooded areas. If you have allergies, asthma, or another health condition that might be affected by heat, cold, or exertion, check with a medical professional before heading out.
Check the weather and sunrise time the night before. Arriving thirty minutes after sunrise often means missing the first chorus of the day. If you are birding near water, know the tide schedule. If you are in a new area, download an offline map. Tell someone where you are going and when you expect to be back.
Your First Outing Is a Baseline, Not a Test
You will not identify every bird on your first trip. That is normal. Pick one local park, wetland, or greenway and walk it slowly. Sit on a bench for ten minutes and let the birds come to you. Write down three species you know and one mystery bird to look up at home. The second outing will be easier, the third easier still, and soon you will have a list that belongs to your place and your seasons. The checklist is there to clear the clutter so you can pay attention. The birds will handle the rest.
Photo: jona / Pexels