Build a Raised Garden Bed for Under $100: A Beginner's DIY Plan
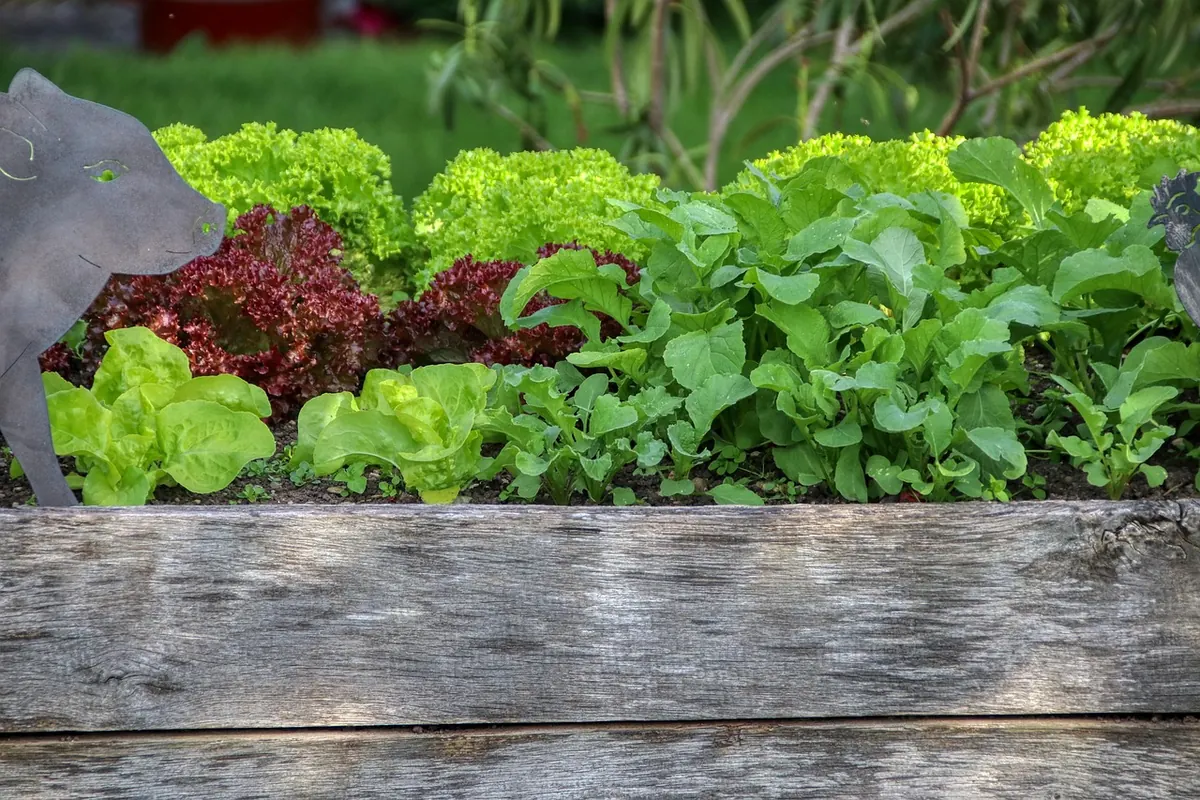
A raised bed does three jobs at once: it warms up earlier in spring, it drains better than the compacted clay most of us inherit, and it keeps you from bending to the ground every time you pull a weed. The reason people assume raised beds are pricey is that they price cedar kits and bagged soil. Use plain untreated lumber and bulk fill, and a 4-by-8-foot bed can land under $100. Here is the whole build, including the part most guides skip: where the money actually goes.
The Plan: One 4x8 Bed, About 11 Inches Deep
Eleven inches of soil grows almost everything except long carrots and parsnips, so we build two stacked courses of 2x10 boards. That height also means less kneeling and fewer weeds creeping in from the lawn.
Materials
- Six 2x10x8 boards, untreated pine, fir, or hemlock
- About 30 exterior deck screws, 3 inches long
- Optional: four 4x4 corner posts cut to 11 inches, or four flat metal corner brackets
- Cardboard, newspaper, or a few sacks of leaves for the base
Tools are basic: a drill, a saw, a tape measure, a speed square, and a level. A circular saw or even a handsaw will do. Have the lumberyard make the two crosscuts for you if you do not own a saw.
Rough budget: boards are the big line item, usually somewhere between $8 and $15 each depending on species and region, plus about $10 for screws. That leaves room under $100 in most markets. Cedar and redwood last longer but can easily triple the lumber cost, which defeats the point of this plan. Call your local yard for a quote before you commit, since prices swing by season and region.
Buying the Wood Without Overpaying
- Skip the big-box precuts. Four-foot boards cost far more per foot than eight-footers. Buy 8-foot stock and cut it yourself.
- Ask about cull or return piles. Yards sell slightly warped or dinged boards cheap, and a little bow is fine in a garden bed.
- Check the fencing aisle. Rough cedar fence pickets are thin but surprisingly cheap, and doubled up they make decent short beds.
- Buy in early spring. Lumber and garden departments run sales right when you want to build.
- Avoid old pressure-treated stock. If you are unsure what a pile of salvaged lumber was treated with, use it for a flower bed rather than vegetables, or leave it out of the project.
Cut, Assemble, Level
- Cut one 8-foot board in half to make the two 4-foot ends.
- Lay out the first course as a rectangle on a flat surface: two 8-foot sides, two 4-foot ends.
- Predrill the ends to avoid splitting, then drive two or three screws through each corner, angling slightly inward for grip.
- Build the second course the same way, then set it on top of the first with the corners staggered so they do not line up.
- Screw the courses together, driving screws down through the top board into the one below. If you are using corner posts, set them inside the corners and screw through the boards into the posts.
- Measure corner to corner both ways. When the two diagonals match, the frame is square.
- Set the frame where it will live and check it with a level. Nudge soil under the low corners rather than forcing the boards flat.
Siting and Ground Prep
Pick a spot that gets six to eight hours of sun and sits within reach of a hose. Avoid the lowest corner of the yard, where water pools after rain. If you plan to drive stakes or posts, call your local utility locating service first, which is free in most places and takes a few days.
You do not need to dig or till. Mow the grass or weeds as short as you can, then lay down a layer of overlapping cardboard and wet it thoroughly. Top with a few inches of leaves or grass clippings. The cardboard smothers what is underneath and breaks down within a season, and worms move right through it.
Filling It Without Blowing the Budget
Here is the math that saves the most money. A 4-by-8 bed filled 11 inches deep needs roughly 30 cubic feet of material, which is just over one cubic yard. Buying that in bags is where budgets die. Bulk delivery or a pickup-truck load of a topsoil and compost blend costs far less per cubic foot.
If you need to stretch it further, fill the bottom third with free brown material: small branches, leaves, half-finished compost, spent potting soil from last year's containers. Top the last seven or eight inches with your soil blend. That layer settles over the season, so plan to top it off with an inch or two of compost next spring.
For the growing layer, a simple starting mix is about two parts topsoil to one part compost, with a handful of perlite or coarse sand stirred in if your soil holds water. Do not fill the bed all the way to the rim. Leave an inch or two of freeboard so watering and mulch stay put.
Water, Mulch, and Keep It Simple
Raised beds dry out faster than open ground because they are exposed on all four sides. A soaker hose laid along the soil surface under the mulch cuts watering time and keeps leaves dry. Mulch two to three inches deep with straw, shredded leaves, or pine bark, and keep it an inch back from plant stems so they do not rot.
For the first season, plant things you actually eat and space them properly rather than crowding. A 4-by-8 bed holds a surprising amount: a row of tomatoes or peppers along the back, lettuce and herbs in front, and a trellis on one end for cucumbers or beans.
Make It Last
Untreated wood in contact with damp soil will eventually rot. Expect seven to ten years from pine or fir, longer from cedar, and treat that as acceptable rather than a flaw. Do not line the inside with plastic; it traps moisture against the wood and speeds decay instead of preventing it. Landscape fabric tucked along the inner walls is fine if you want to keep soil from washing out through gaps.
Each spring, add an inch or two of compost to the top and work it into the first few inches with a hand fork. That is the whole maintenance routine. Build the frame once, feed the soil every year, and the bed keeps paying you back in tomatoes.
Photo: planet_fox / Pixabay