Acrylic vs. Oil Paints for Beginners: Drying Time, Cost, and Cleanup Compared
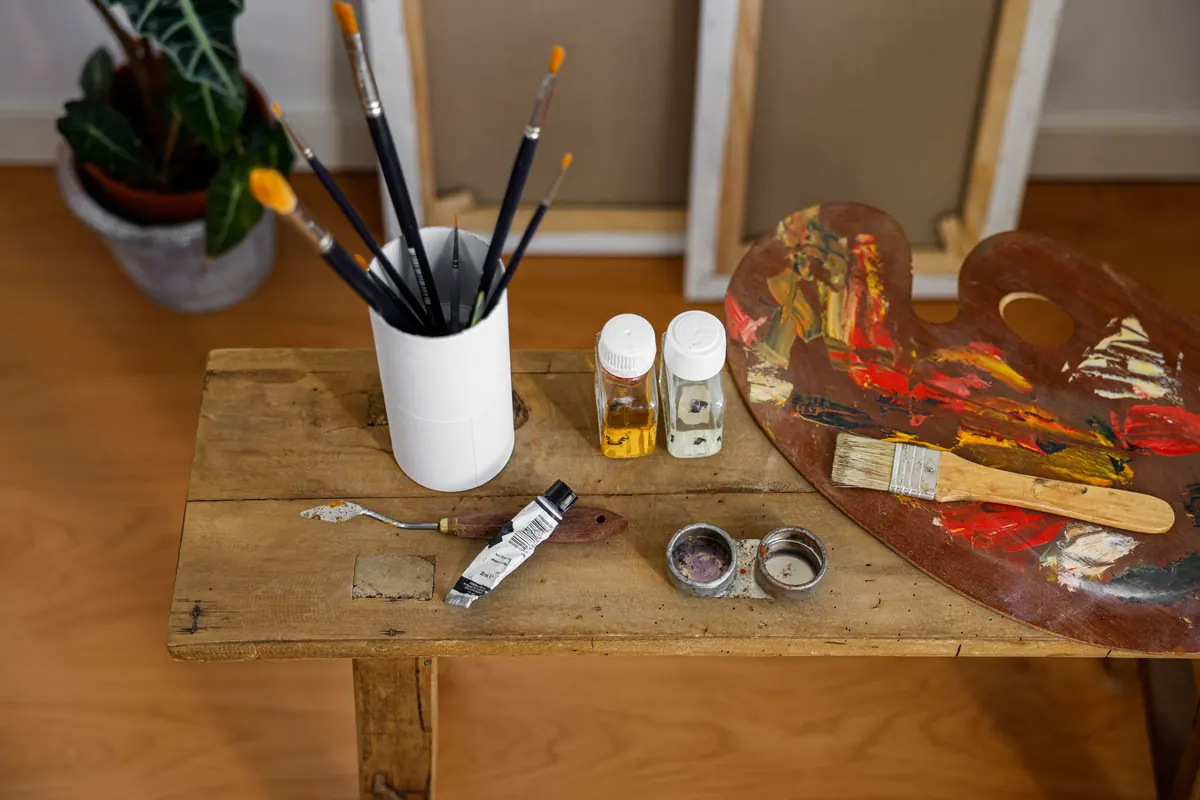
Two tubes of paint, roughly the same size, roughly the same colour. One costs a little less and washes out under the tap. The other smells like a school art room and carries a label warning about solvents. That's the moment most beginners have to choose between acrylics and oils, and the decision has less to do with talent than with how fast you like to work, how much space you can spare, and how much you want to spend before you know whether you enjoy painting at all.
Drying Time: Minutes Versus Days
Acrylics are pigment suspended in an acrylic polymer and thinned with water. When the water evaporates, the film sets. A thin layer is usually dry to the touch in ten to twenty minutes, sometimes faster in a dry room. That means you can block in a background, make a cup of tea, and glaze over it the same afternoon. It also means the paint on your palette is quietly forming a skin while you decide on your next move.
Oils dry by oxidation rather than evaporation. The linseed or walnut oil in the binder reacts with oxygen and hardens slowly. A thin layer might be touch-dry overnight; a thick stroke can stay soft for a week or more. That long open time is the whole appeal. You can push paint around, soften an edge into the background an hour later, wipe out a mistake with a rag, and come back the next morning to the same workable surface.
One rule matters with oils: fat over lean. Each new layer should carry a little more oil and less solvent than the one beneath it, so the lower layers stay flexible and the finished surface resists cracking. Acrylics have no equivalent rule. Paint lean over fat or the reverse and nothing dramatic happens.
What Drying Speed Does to the Learning Curve
Beginners often assume slow-drying oil must be harder. In practice, the opposite is sometimes true. Oil forgives hesitation. You can blend a sky until it looks right and keep reworking it for hours. Acrylics punish dithering: put a stroke down and it's committed within minutes, and if you scrub over it too soon you'll lift the layer underneath rather than blend into it.
What acrylics offer instead is momentum. You can finish a small study in one sitting, learn something from it, and start another before dinner. Ten quick acrylic studies will teach a beginner more about colour and value than one oil painting spread across three weeks.
Colour behaves differently too. Acrylics dry a shade darker and more matte than they look when wet, which is a genuine surprise the first time you paint a pale sky. Oils stay close to their wet colour as they dry, though linseed oil can yellow slightly over time and a final varnish brings back the depth. Whichever you use, paint a small test swatch, let it dry, and check it before committing to a large area.
Cost: What Your First Kit Really Adds Up To
Student-grade acrylics are usually the cheapest way to get paint onto a surface. Oils cost more per tube, partly because of the oil and pigment load and partly because certain pigments, cadmiums especially, are genuinely expensive to produce. Artist-grade versions of either medium cost more than student grade, and with oils that jump tends to be steeper.
Paint is only part of the bill, though. The accessories are where the two mediums really diverge.
- Acrylics: a water jar, a spray bottle or stay-wet palette, a few synthetic brushes, paper towels. Low add-on cost, and almost all of it is reusable.
- Oils: a solvent such as odourless mineral spirits, a lidded jar or brush washer, a palette, medium if you use it, hog-bristle or stiff synthetic brushes, gloves, and a metal tin for used rags. A bigger upfront purchase.
- Either way: surfaces (canvas board, canvas paper, or stretched canvas), a cheap table easel, and a small palette. Titanium white, a warm and a cool yellow, a warm and a cool red, ultramarine blue, burnt sienna, and yellow ochre will take you further than a box of odds and ends.
If you're not yet sure you'll stick with painting, acrylics let you find out for less. If you already know you like to work slowly and can keep a corner set up permanently, the extra oil cost buys you time and blendability that no acrylic medium fully replaces.
Cleanup and Safety
Acrylic cleanup is the easy win: rinse brushes in water while the paint is wet, then wash them with soap. The catch is that dried acrylic is plastic. Once it sets inside the ferrule, water won't shift it, and the brush will splay and shed. Rinse every few minutes while you paint instead of leaving brushes standing in a jar.
Oils need a solvent, and that changes the equation. Solvent fumes are the main health concern in a home studio, and ventilation matters more than brand. A window, a fan pushing air out of the room, and a lidded jar for dirty solvent should be non-negotiable. Wear nitrile gloves when you're handling pigment for hours, keep supplies away from food surfaces, and keep open solvent away from children and pets. If you have asthma, a known sensitivity to fumes, or you're pregnant, talk to a doctor before setting up an oil practice, and ask art supply staff about water-miscible oils, which clean up with soap and water and cut solvent use dramatically.
One more oil-specific note: rags soaked with linseed or another drying oil can heat up on their own and start a fire. Don't ball them up and drop them in a bin. Spread them flat outdoors to dry, or seal them in a metal container with water and a lid. It sounds dramatic; it isn't.
Workspace: Where You'll Actually Paint
If your studio is a kitchen table you clear every evening, acrylics fit that life almost by default. No fumes, no rags to manage, and paint left on a stay-wet tray or under cling film is often usable the next day, as long as you keep it damp and accept that a skin may form.
Oils want a corner that can stay messy: a surface that doesn't mind a smear of burnt sienna, room to leave a wet canvas where nobody will brush against it, and airflow. Plenty of beginners start with oils anyway, then paint less often because setting up and packing away takes twenty minutes at each end of a session. Be honest about whether you'll do that four evenings a week.
Choosing Your First Medium
Neither medium is better. They reward different habits.
- Choose acrylics if you have limited space, want simple cleanup, like finishing work in one sitting, or plan to paint on fabric, wood, or in mixed-media sketchbooks.
- Choose oils if you have a ventilated spot you can leave set up, enjoy slow blending and reworking, and don't mind waiting days between layers.
- Buy student grade either way for your first six months. You'll learn more from painting often than from owning expensive pigment.
- Test the slow pace before investing. A small set of student oils and a couple of canvas boards will tell you whether waiting suits you far more cheaply than a full studio kit.
Start Smaller Than You Think
Buy four or five colours rather than twelve. Paint small, on a canvas paper pad or boards around 6x8 inches, so a study takes an hour rather than a month. Paint the same simple subject three times in a row in one medium; repetition teaches brush handling faster than switching mediums every week.
Whichever you pick, set up your workspace before you buy anything else. If setup is annoying, you won't paint. If it's easy, you will, and the medium question will answer itself within a few weeks.
Photo: Cup of Couple / Pexels